What is the difference between Dim it down and Overexposed?
Overexposed corrects a clip that was shot too bright, deepening the blacks and pulling back highlights. Dim it down simply turns a well-exposed clip down, more like a dimmer switch.
Free · runs in your browser
Turn a clip down for a softer, evening feel or a background loop that doesn’t shout. Works on your device; nothing is uploaded and nothing is watermarked.
To dim a video, open it above and choose Dim it down. It lowers the whole picture smoothly, a little more in the midtones than at the ends, so the clip looks like the light was lower rather than like a grey sheet was laid over it. Strength goes from a gentle reduction to a deep, late-evening level.
Dimming is different from fixing a mistake. The footage may be perfectly exposed, but you want it quieter: a background loop under titles, a calmer B-roll shot, a scene that should feel like dusk, or a bright clip that needs to sit next to darker ones in an edit.
 (enlarge image)
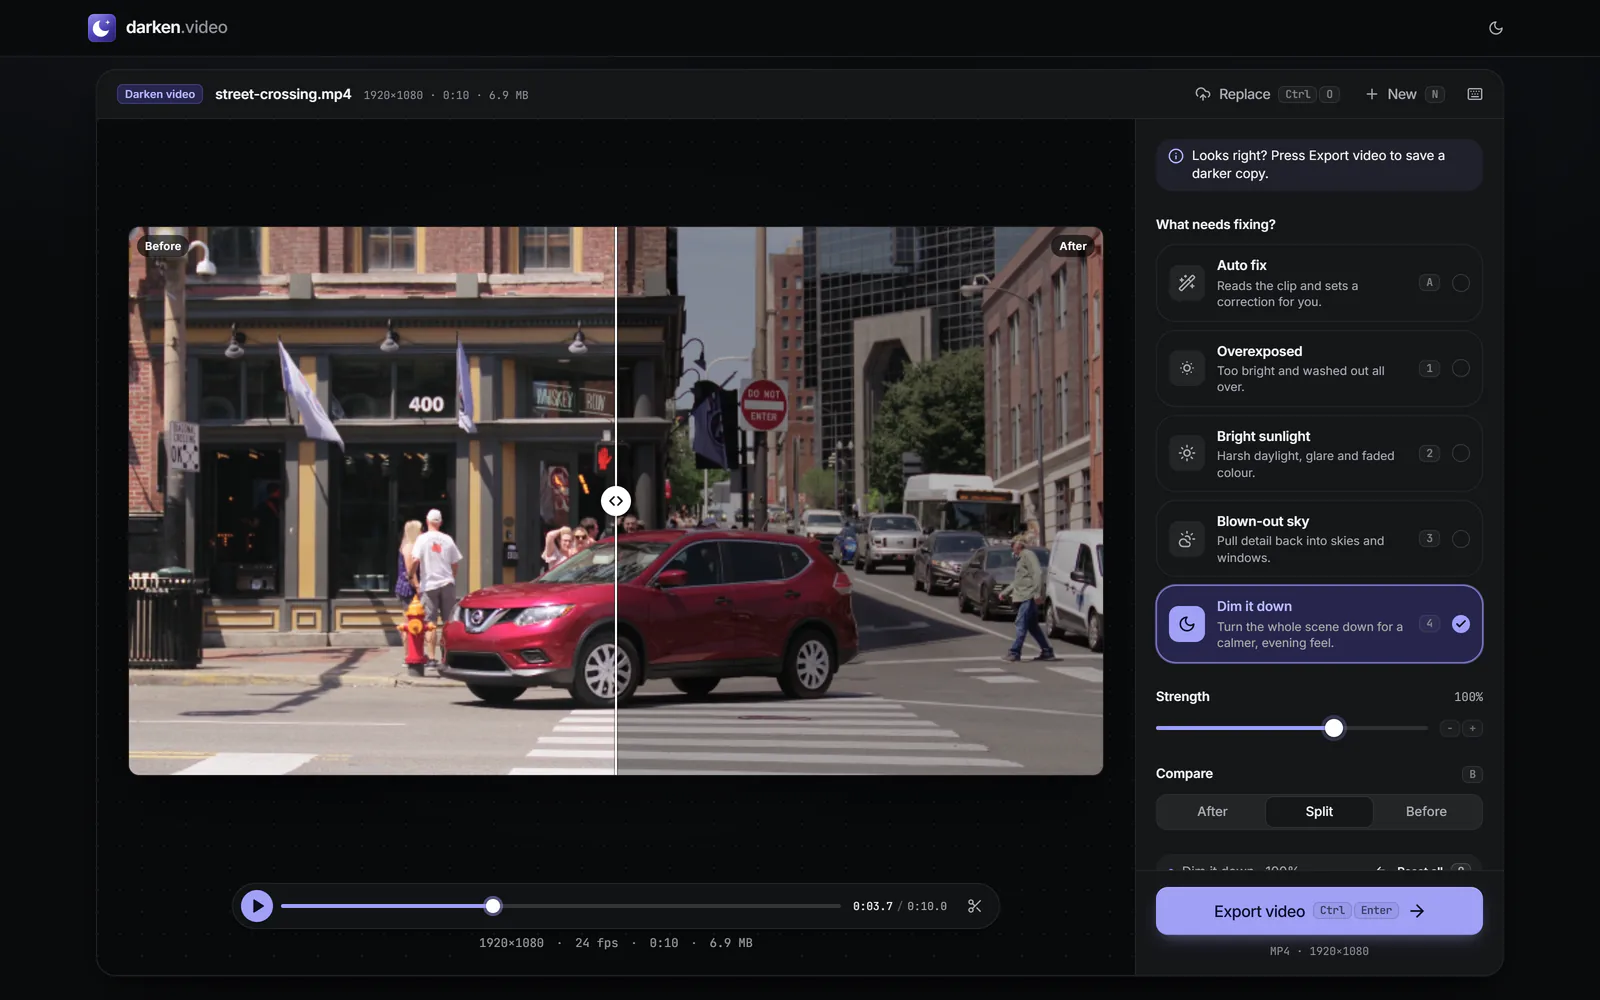
Dim it down with Split chosen under Compare.
Drag the video onto the tool, or tap to choose it from your photos or files.
The preview darkens straight away. Move Strength to set how dim it should be.
Under More options, lower Saturation for a muted, evening feel, or lower Contrast for a softer, hazier one.
Select Export video, then Download video. On a phone, use Share to save it to your photos.
Titles and captions read best on a darker, calmer background. Dim a hero loop or a slide background by about a third and white text will stand out without needing a box behind it.
When one clip in a sequence is noticeably brighter than its neighbours, the jump is distracting. Dim it until the faces or the main subject sit at the same level as the shots around it; compare with Split while you do.
Lower light at dusk is dimmer, softer and less colourful. Dim it down with Saturation lowered to about −30 gets surprisingly close. It won’t turn midday into midnight, though: see the next section.
Film-makers have long shot night scenes in daylight and darkened them later, a technique called day for night. A convincing version needs more than darkening: hard shadows from the sun give it away, the sky has to be kept out of frame or turned very dark, and the colour is usually shifted towards blue to suggest moonlight.
This tool darkens and desaturates, but it doesn’t add a colour tint or mask the sky separately. For a full night conversion, darken here first and then add a cool colour grade in an editor such as DaVinci Resolve or Premiere Pro.
A heavily dimmed clip can lose everything in its darker half. If faces or dark clothes start to merge into black, raise Blacks a little under More options, or raise Gamma slightly. Both lift the lower part of the range while keeping the overall level down.
Overexposed corrects a clip that was shot too bright, deepening the blacks and pulling back highlights. Dim it down simply turns a well-exposed clip down, more like a dimmer switch.
You can make it look like evening. A convincing night look also needs a blue tint and a dark sky, which this tool doesn’t add. Darken here, then add a cool grade in an editor.
You can trim the clip and dim the part you keep. The tool doesn’t fade the effect in or out over time.
Slightly, in many cases, because darker, calmer pictures compress well. For a much smaller file, choose a smaller Size or Quality under Export settings.
No. You download a new, dimmed copy and the original stays as it was.