How do I reduce the brightness of a video without an app?
Open this page in any modern browser, choose the video, press Auto fix or Dim it down, then Export video and Download video. Nothing needs installing and the file is not uploaded.
Free · runs in your browser
Lower the brightness of a whole clip without making it murky. One press for a quick fix, every control for fine work, and your file stays on your device.
If a video is too bright, open it above, press Auto fix, and then nudge Strength until it looks right. That is usually all it takes. For a simple overall reduction, choose Dim it down instead: it lowers the whole picture evenly, the way a dimmer switch would.
“Too bright” can mean three different things, and each needs a slightly different fix. The picture may be bright everywhere (the camera let in too much light), only the bright parts may be glaring (a sunny sky or a lamp), or it may look pale and milky (low contrast, often from haze or a dirty lens). The sections below show which control handles which.
Choose the file or drag it onto the tool. It opens straight away; nothing is uploaded.
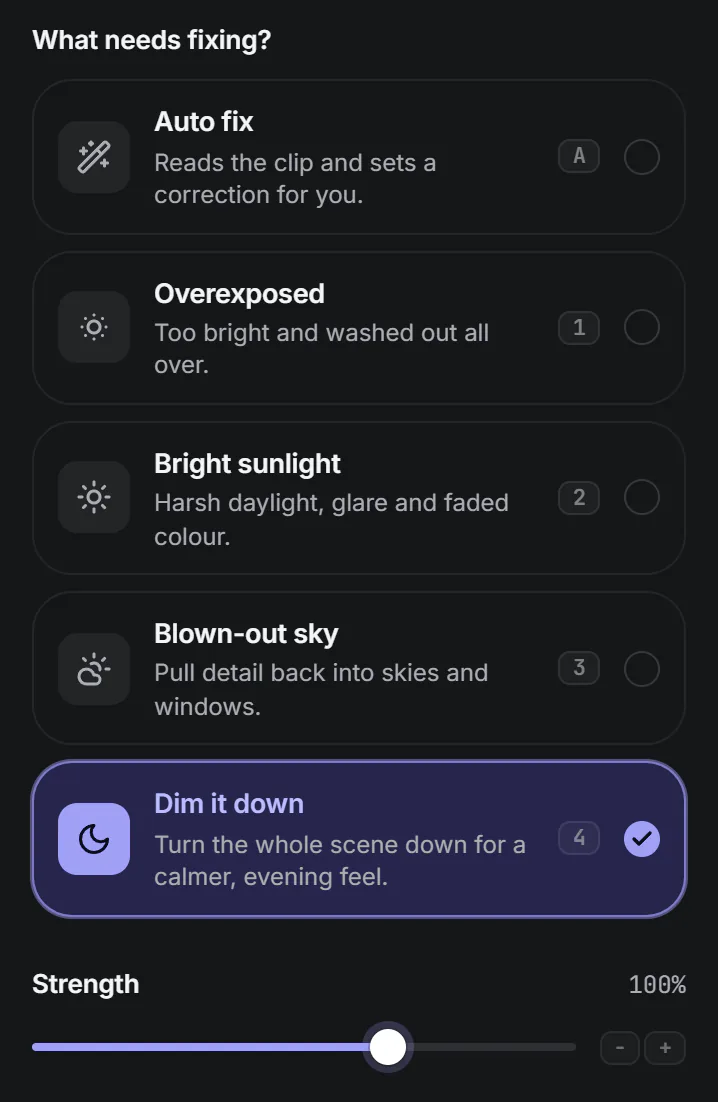
Press Auto fix for a measured correction, or choose Dim it down for an even, overall reduction. Bright sunlight suits harsh daylight with glare.
 (enlarge image)
Pick Auto fix or a look, then set Strength.
Move Strength left for a lighter touch, right for a stronger one. The preview updates as you drag; press Space to play the clip.
Select Export video, then Download video. The original file is not changed.
Everything, including the shadows, sits higher than it should. This is classic overexposure, from a camera set for a darker scene or an automatic exposure that guessed wrong. Auto fix or Overexposed is the right start, and lowering Exposure under More options does the bulk of the work by hand.
The subject looks fine but a sky, a window, a white wall or a spotlight is painful to look at. Lowering the whole image would make the subject too dark, so use Blown-out sky, or pull down Highlights and Whites under More options and leave Exposure alone.
Nothing is very bright, but nothing is dark either: blacks look grey and colours look faded. That is a contrast problem. Lower Blacks and raise Contrast; the picture will look darker and clearer at the same time.
The brightness control in many players and basic editors subtracts the same amount from every pixel. Black can’t go below black, so the darkest tones bunch up at the bottom while whites become a dull grey. The result is darker but flatter, and sometimes it looks like someone has put a grey filter over the video.
Exposure here behaves like light, not like subtraction: it scales each tone by a ratio, so the bright parts fall the furthest and black stays black. Gamma moves only the middle of the range. Using the two together lets you take the glare off a clip while keeping its depth.
Before changing the file, check that the problem is in the video. Phone screens on full brightness, HDR playback on a newer phone or laptop, and TVs in a showroom picture mode can all make a normal clip look harsh. Play it on another device. If it looks fine there, turning down the display is the better fix, because darkening the file will make it look too dark everywhere else.
HDR clips are a special case: on an HDR screen they can be much brighter than anything else on the page. Saving a copy here converts it to standard range, which tames it on every screen. For the background, see why video looks overexposed.
Open this page in any modern browser, choose the video, press Auto fix or Dim it down, then Export video and Download video. Nothing needs installing and the file is not uploaded.
Stop when the brightest thing you care about, often a face or a sky, has visible texture and the darkest areas look properly dark. Use Split under Compare to judge it against the original.
Not as a separate area, but Blown-out sky and the Highlights control mostly affect the brightest tones, which in an outdoor shot are usually the sky. The rest of the frame changes much less.
Close to it. The result is standard-range video, which every screen shows in a similar way. Differences in screen brightness settings still apply.
Yes. The audio is copied into the new file unchanged unless you switch off Keep sound under Export settings.
No. The saved video has no watermark and needs no account.