Can you fix an overexposed video completely?
Only when nothing is clipped. Bright areas that still show texture return to a natural level. Areas recorded as pure white contain no detail, so they can only be darkened to flat grey or left white.
Free · runs in your browser
Bring a clip that came out too bright back to a natural level. Auto fix does the work, a split view shows the difference, and nothing is uploaded.
To fix an overexposed video, open it in the tool above and press Auto fix. It measures the brightest and darkest tones in frames from across the clip, then lowers Exposure, pulls Highlights back and deepens Blacks so the picture has contrast again. If you want more or less, choose Overexposed and move Strength. Select Export video to save the corrected copy.
Overexposure has two parts, and only one of them can be undone. Tones the camera recorded as very bright but not pure white still hold texture, and they come back well. Anything recorded as pure white (the readings hit the top of the scale) has no detail left in the file, so no software can rebuild it. The Levels graph under More options tells you how much of your frame is in that second group before you spend time on it.
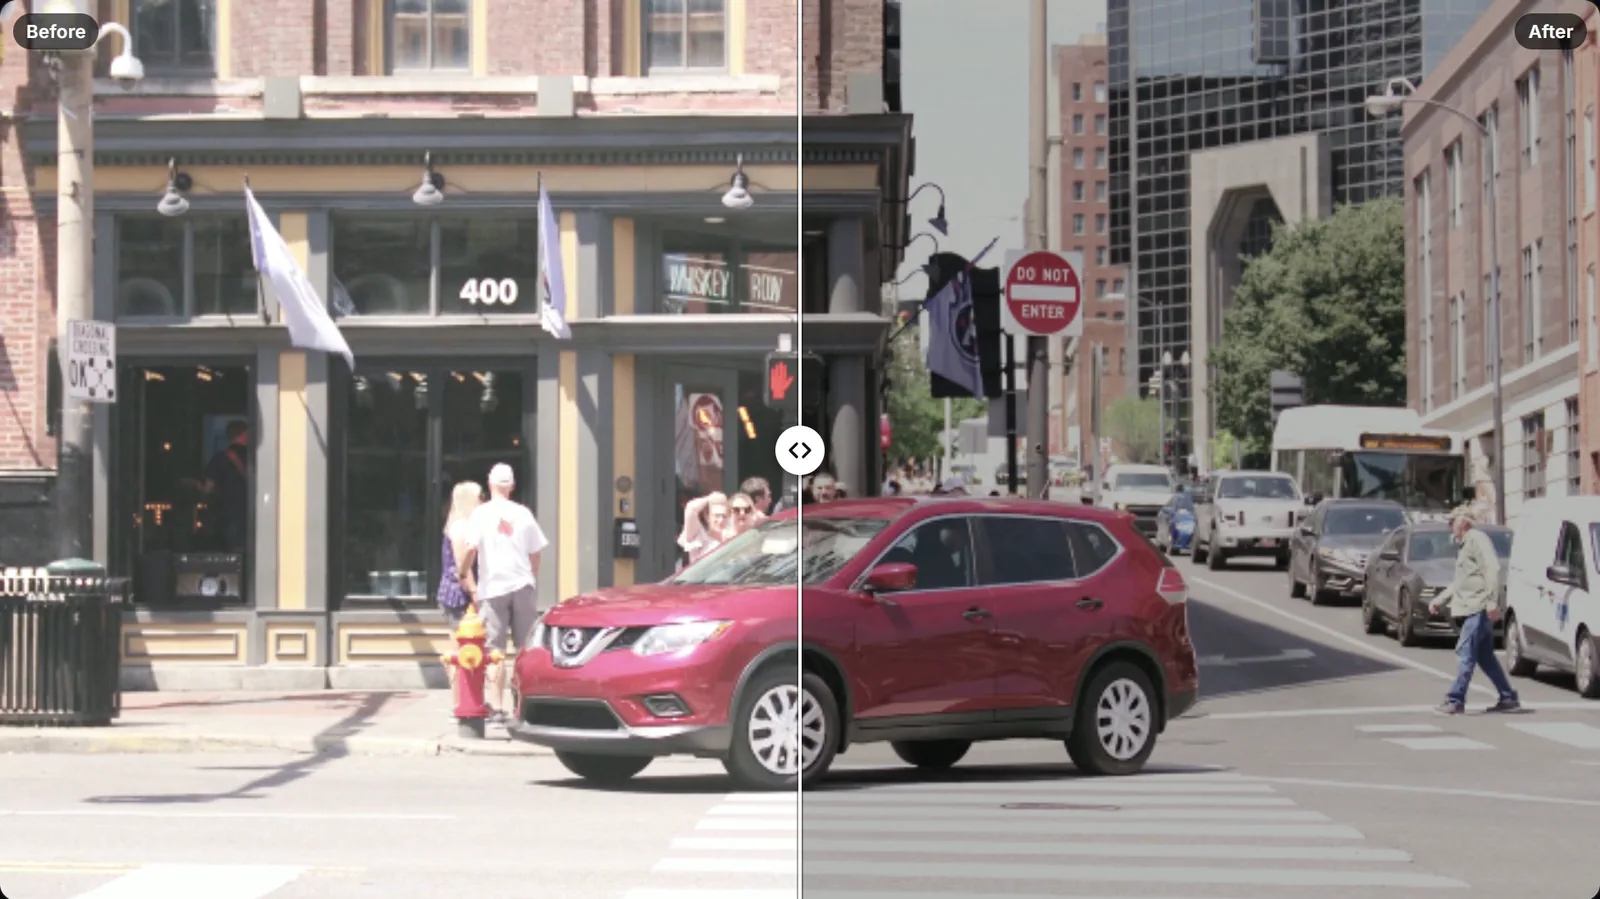 (enlarge image)
Before and after Auto fix, shown with Split under Compare.
Drop the file onto the tool or tap to pick it. Phone MP4 and MOV files, action-camera clips and screen recordings all work.
Auto fix samples the clip and sets a correction. If the picture is still pale, choose Overexposed and raise Strength a little at a time.
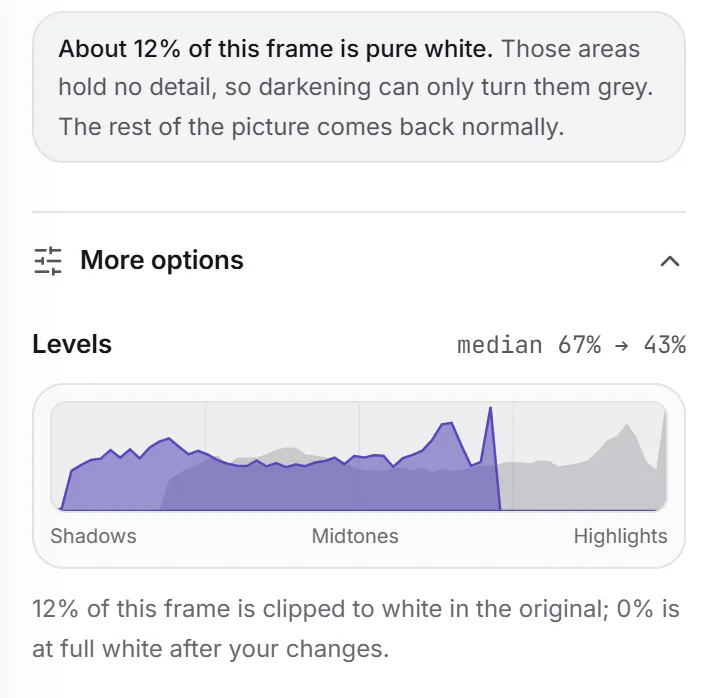
Choose Split under Compare and drag the divider across a sky or a window. Open More options to read Levels: the figure under the graph is the share of the frame that is pure white.
 (enlarge image)
The note and Levels show how much of the frame is clipped and can’t be recovered.
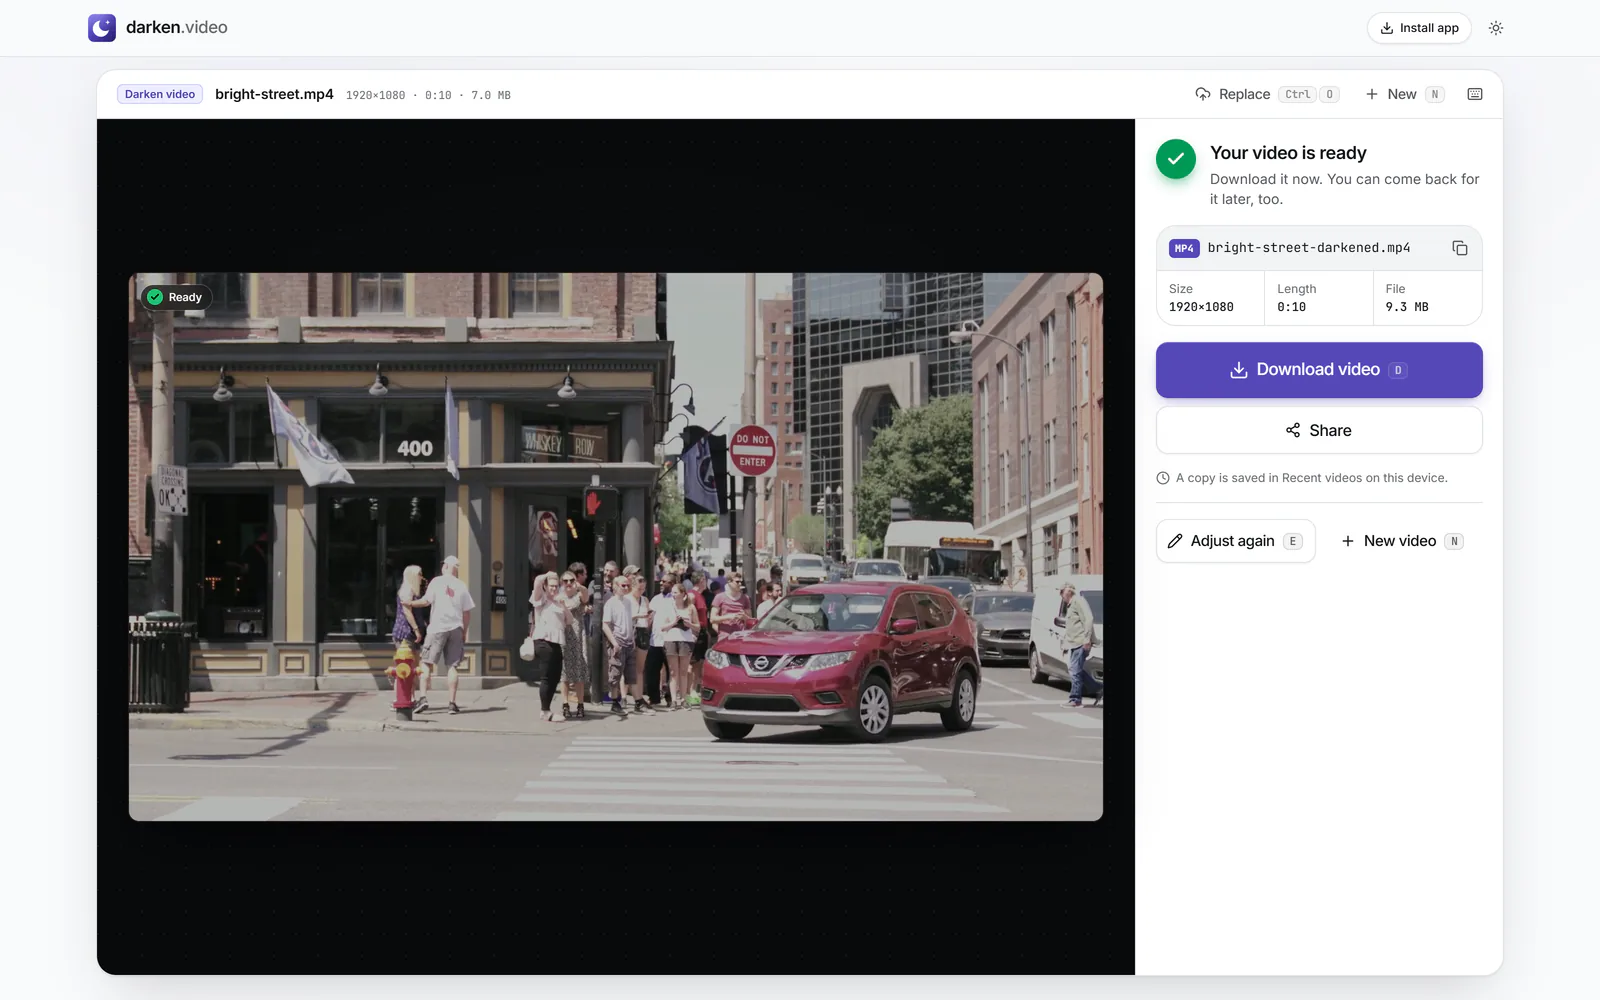
Select Export video. When Your video is ready appears, select Download video, or Share on a phone to save it to your photos.
 (enlarge image)
Select Download video, or Share on a phone.
A camera sensor counts light in each pixel and stores the count as a number, from 0 for black to 255 for white in ordinary 8-bit video. Overexposure means too much light reached the sensor for the settings in use, so the counts for the whole scene crowd towards the top of that range. Mid-grey walls record as near-white, faces lose their shading, and the brightest parts run out of room and all land on 255.
That crowding is why overexposed footage looks washed out rather than simply bright. Contrast is the gap between tones, and when every tone has been squeezed into the top quarter of the scale the gaps are small. A good fix therefore does two jobs: it moves the tones back down, and it stretches them apart again so that dark things look dark.
Clouds that look pale grey-white, a bright shirt where you can still see creases, a face that looks shiny but still has a nose and cheeks: all of these still have different values from pixel to pixel. Lowering Highlights spreads those values apart and the texture reappears.
Where every pixel in an area reads 255, the file stores a flat patch with nothing inside it. Darkening that patch turns it into a flat light grey, which can look worse than leaving it white. The honest options are to darken the rest of the picture and accept a bright sky, to keep Highlights recovery modest so the patch stays white, or to trim the clip to the moments where the clipping is smallest.
Modern phones record HDR video, which keeps more highlight range than an SDR screen can show. When you open such a clip here it is converted to standard range, and Auto fix places the tones within that range, so a clip that looked blinding on the phone often comes back with more sky detail than you expected.
Only when nothing is clipped. Bright areas that still show texture return to a natural level. Areas recorded as pure white contain no detail, so they can only be darkened to flat grey or left white.
Start with Auto fix, because it measures your clip. Overexposed applies a fixed, fairly strong correction and suits footage that is pale all over. You can switch between them and compare with Split under Compare.
Either the original is heavily clipped, or the blacks have not been brought down. Open More options and lower Blacks, or raise Contrast slightly. If the grey patch is a clipped sky, move Highlights back towards 0 so it stays white.
Yes, if the skin still has shading. Lower Highlights first, then lower Gamma slightly to bring midtones down without crushing shadows. Shiny spots that are fully white will stay smooth.
Darkening makes colours look richer, because washed-out colour is mostly white mixed in. If it looks too strong, lower Saturation under More options.
No. All of the processing happens in your browser on your device. The page never receives the file.